- Step 1: Create Citrix ADC VM
- Step 2: Configure network
- Step 3: Configure IP settings on ADC
- Conclusion
Deploy Citrix ADC in Azure
A small how to post on how to easily deploy Citrix ADC in Azure
Written by Remco Kersten
Citrix ADC (formerly Netscaler) is also available as a virtual appliance in addition to physical hardware. As a result, companies can make Citirx ADC available virtually and are no longer bound to purchase special equipment. ADC has recently also been available in the Azure marketplace, making it extremely easy to deploy Citrix ADC (aka. Netscaler) in your Azure infrastructure.
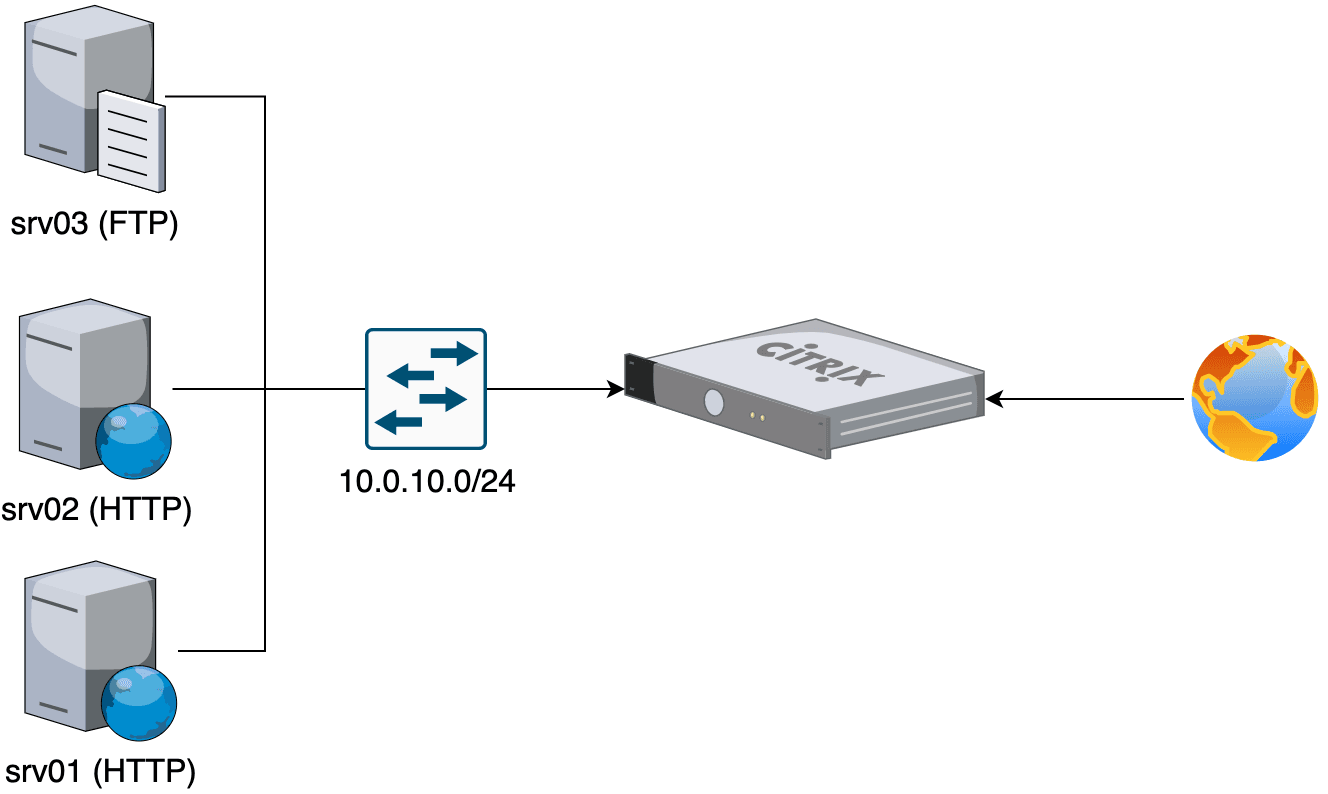
In the step-by-step plan below, I give a demonstration in which Citrix ADC is deployed on Azure for the concept below.
Step 1: Create Citrix ADC VM
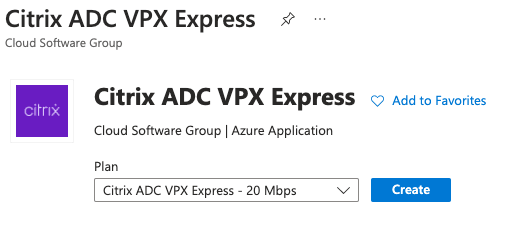
- Search the Azure marketplace for Citrix ADC 13.1 and choose a variant of your choice and deploy this VM. (VPX Express 20 Mbps is free to use at the time of writing).
- In this example, I choose Password as Authentication type instead of SSH public key so that I no longer have to configure a separate user after deployment.
- Set public inbound ports to None so that your ADC is not accessible to everyone
- Leave the rest of the options, or adjust them as desired.
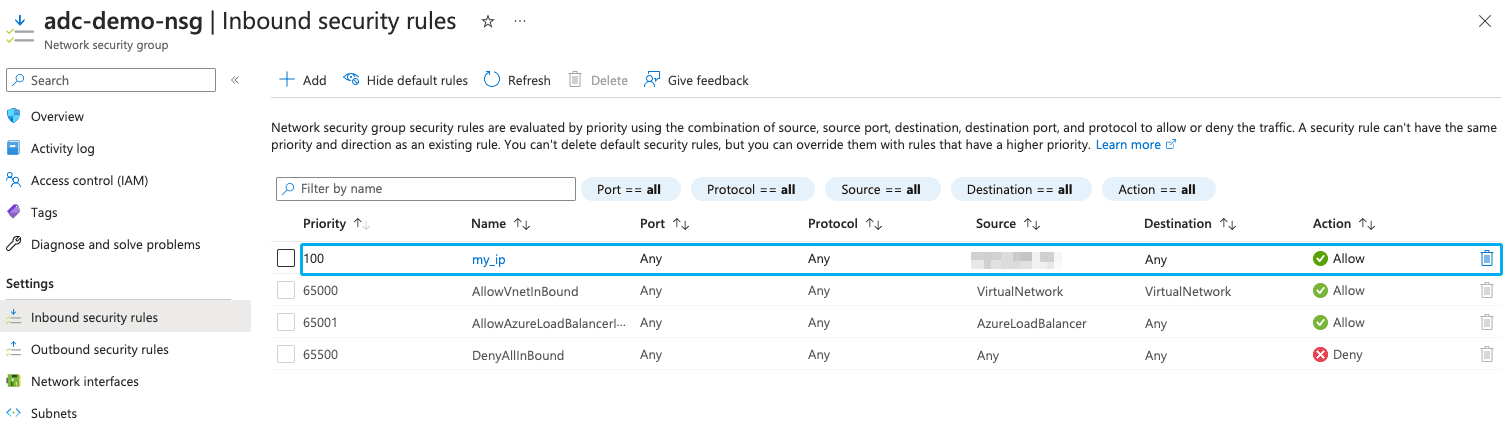
After deployment, create an inbound rule under the Network security group that allows traffic from your IP address.
Step 2: Configure network
- The ADC needs 3 IP addresses:
- 1 address for management interface
- 1 address for the internal network
- 1 address for public access
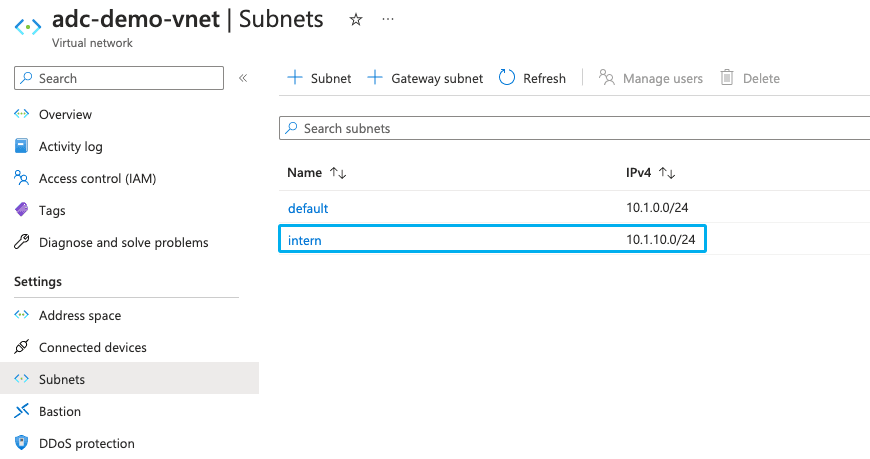
- Go to the virtual network that the ADC is part of, and create an extra subnet for the internal network. In this example I am creating the subnet 10.0.10.0/24
The ADC currently has 1 interface for public access, so we have to create another interface for the internal network.
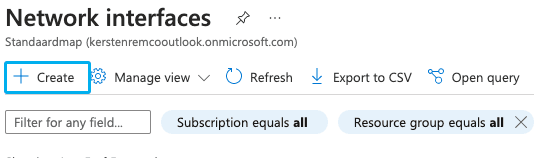
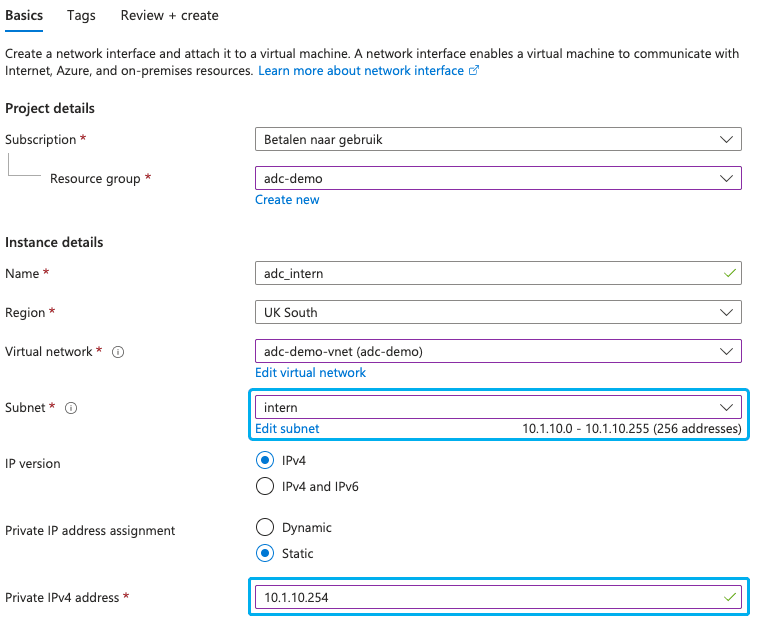
- Go to Network interfaces and click Create
- Create an interface in the internal subnet. Give the interface a static IP address
- Assign the network card to the ADC VM.
⚠️ The VM must be turned off
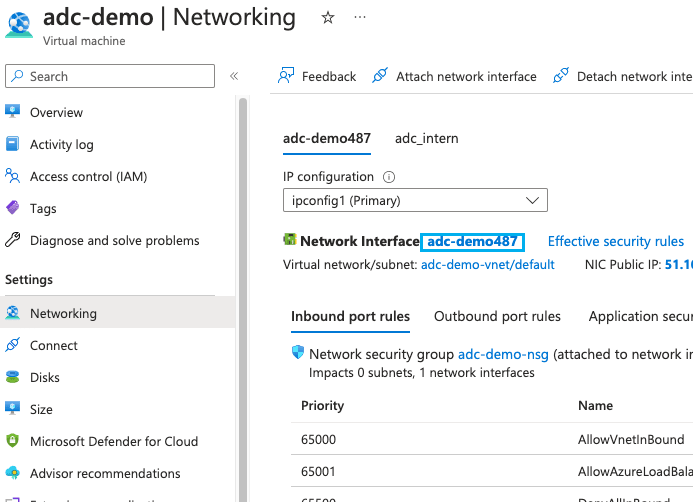
For the public network card there is currently 1 IP configuration which is used for management interface. That's why we add an extra IP configuration for public access.
- Open the network interface of the public network
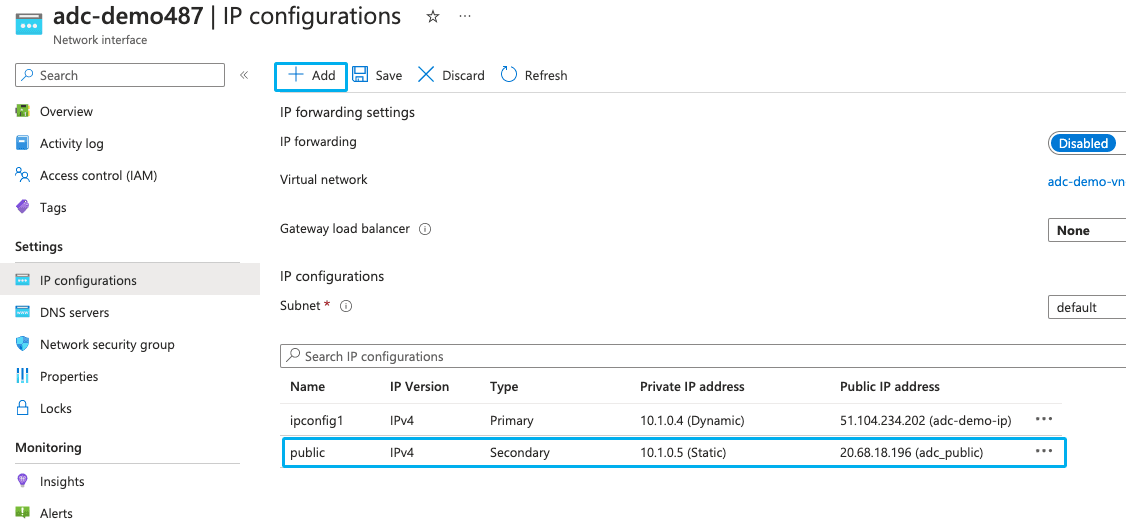
- Under IP configurations add a new IP configuration with both a private and public static IP address ⚠️ The public IP address must be SKU standard
Step 3: Configure IP settings on ADC
- Reboot the VM and login to Citrix ADC by navigating to https://<management-ip>/
- Log in with the data you created when creating the VM
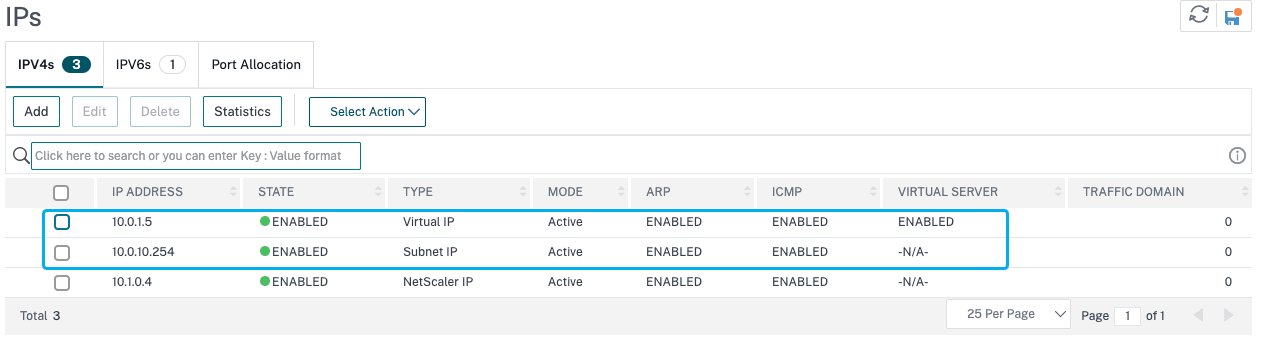
- Under Configuration, go to System -> Network -> Interfaces You should see the 2 network cards that we just created here.
- Go to System -> Network -> IPs and add the newly created IP address for the internal network. IP Type is Subnet IP
- Add the private ip address for the public network card in the same way. IP Type here is Virtual IP
Conclusion
In this post I showed how to deploy Citrix ADC (aka. Netscaler) on Azure. It is now possible to offer your services hosted on Azure via Citrix ADC.