- Step 1: Configuring Azure Entra ID
- Step 2: Configuring Portainer
- Step 3: Logging in with Azure Entra
Azure Entra ID for Portainer
Use Azure Entra ID to login at your Portainer instance!
Written by Remco Kersten
If you’re using the BE version of Portainer, you can easily set up your Azure Entra tenant user as an authentication source with just a single click. Unfortunately, this feature isn’t available in the CE edition. However, since both Portainer and Azure Entra use OAuth 2.0, it’s entirely possible to integrate Azure Entra with Portainer!
Chances are, if you’ve landed on this page, you already know what Portainer is. In a nutshell, Portainer is a management tool for Docker containers, allowing you to manage them on one or multiple nodes through a web interface. So, instead of managing your containers through the command line interface, you expose a web interface for Docker management.
If you navigate within Portainer to Settings -> Authentication, you’ll notice that the Azure Entra feature is only available in the BE edition. While LDAP is available in the CE edition, this protocol isn’t supported by Azure Entra. Fortunately, it’s possible to configure Azure Entra with the OAuth option.
Step 1: Configuring Azure Entra ID
To enable Portainer to use Azure Entra, you must first register the application and assign the appropriate permissions.
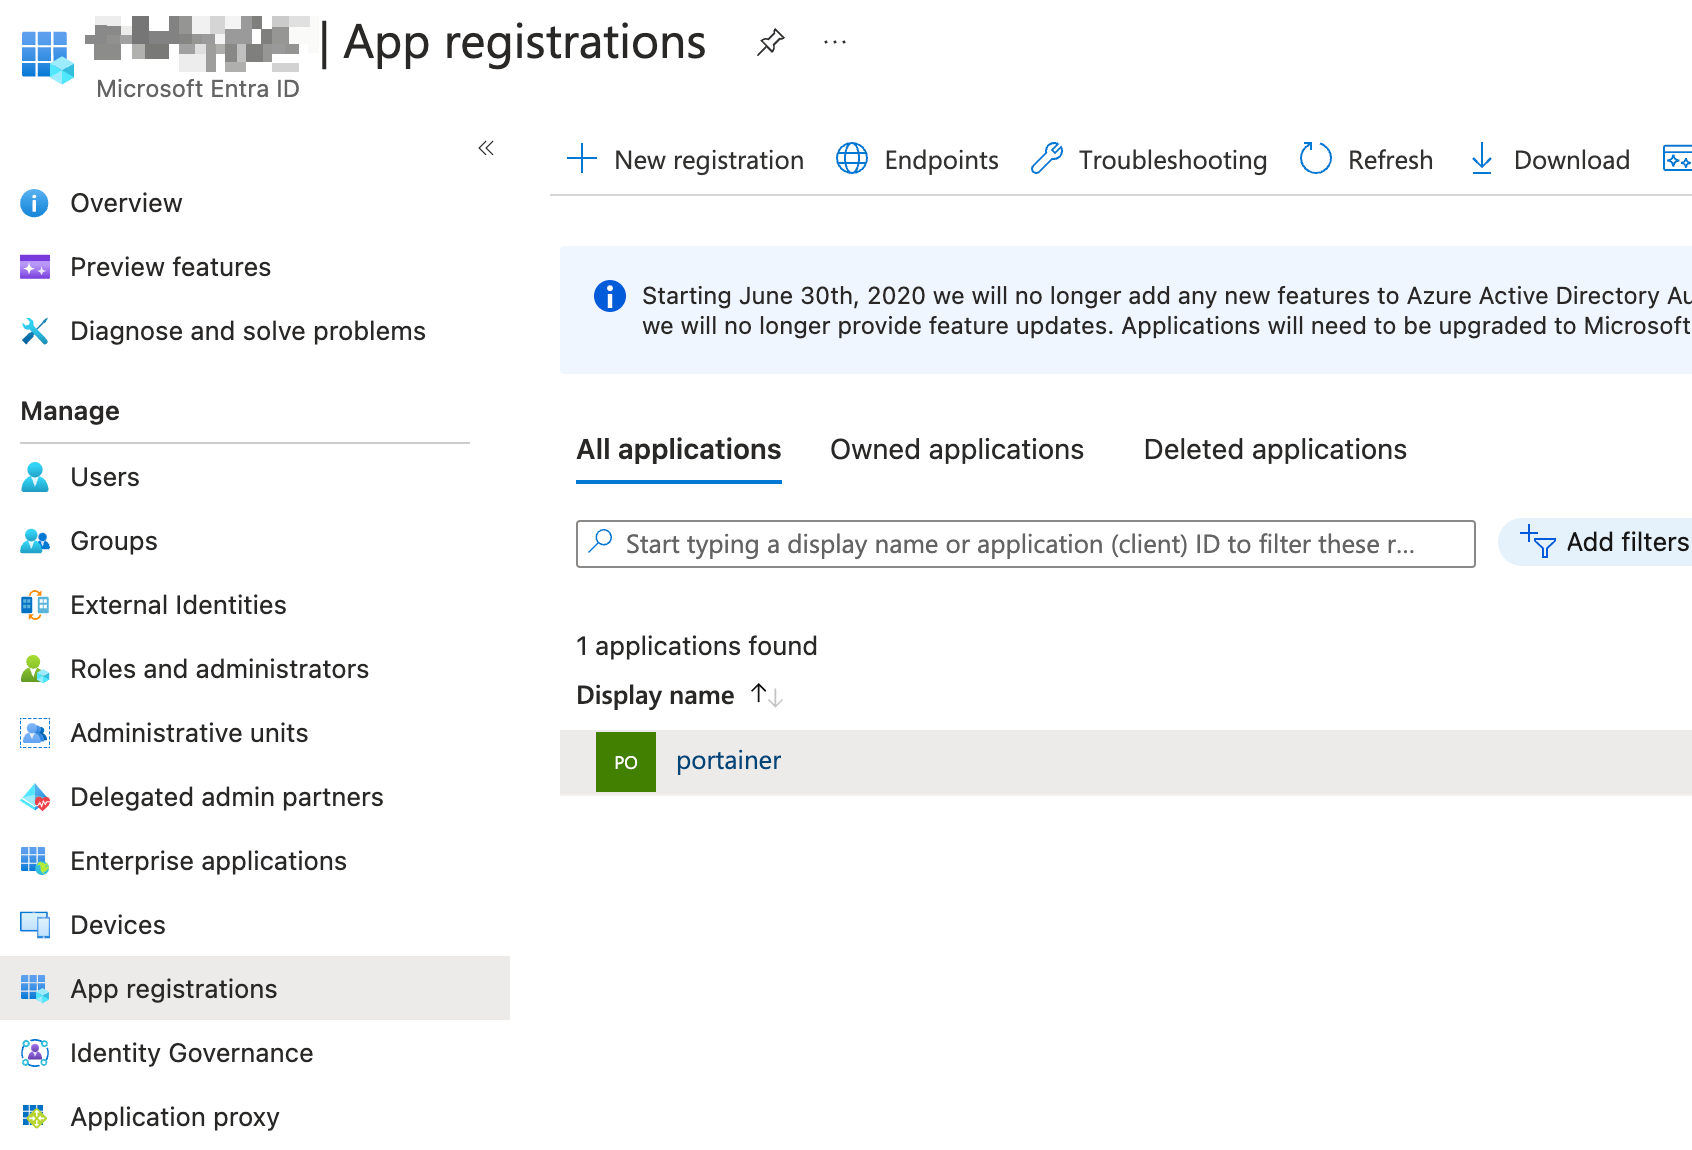
- Log in to your Azure environment and go to Microsoft Entra ID.
- Under the App registrations blade, click on New registration.
- Enter a name of your choice under Name, select the tenants allowed to use Portainer (likely just your own organization), and under redirect URI, enter the URL of your Portainer installation (e.g., https://portainer.mycompany.org/). Then click Register.
- Navigate to the newly created application under the App registrations blade.

- Under the Authentication blade, select the options Access tokens (used for implicit flows) and ID tokens (used for implicit and hybrid flows), and then click Save.

- Under the API permissions blade, add the delegated Microsoft Graph options openid, profile, and email.
- After adding the API permissions, click on Grant admin consent for….

- Create a Client secret for Portainer by clicking on New Client secret under the Certificates & secrets blade. Be sure to record the Value as it’s visible only once.
Step 2: Configuring Portainer
Now that you’ve created an App configuration for Portainer, it’s time to set up Portainer to authenticate with your Tenant.
- Log in to Portainer and go to Settings -> Authentication.
- Select OAuth as the Authentication method.
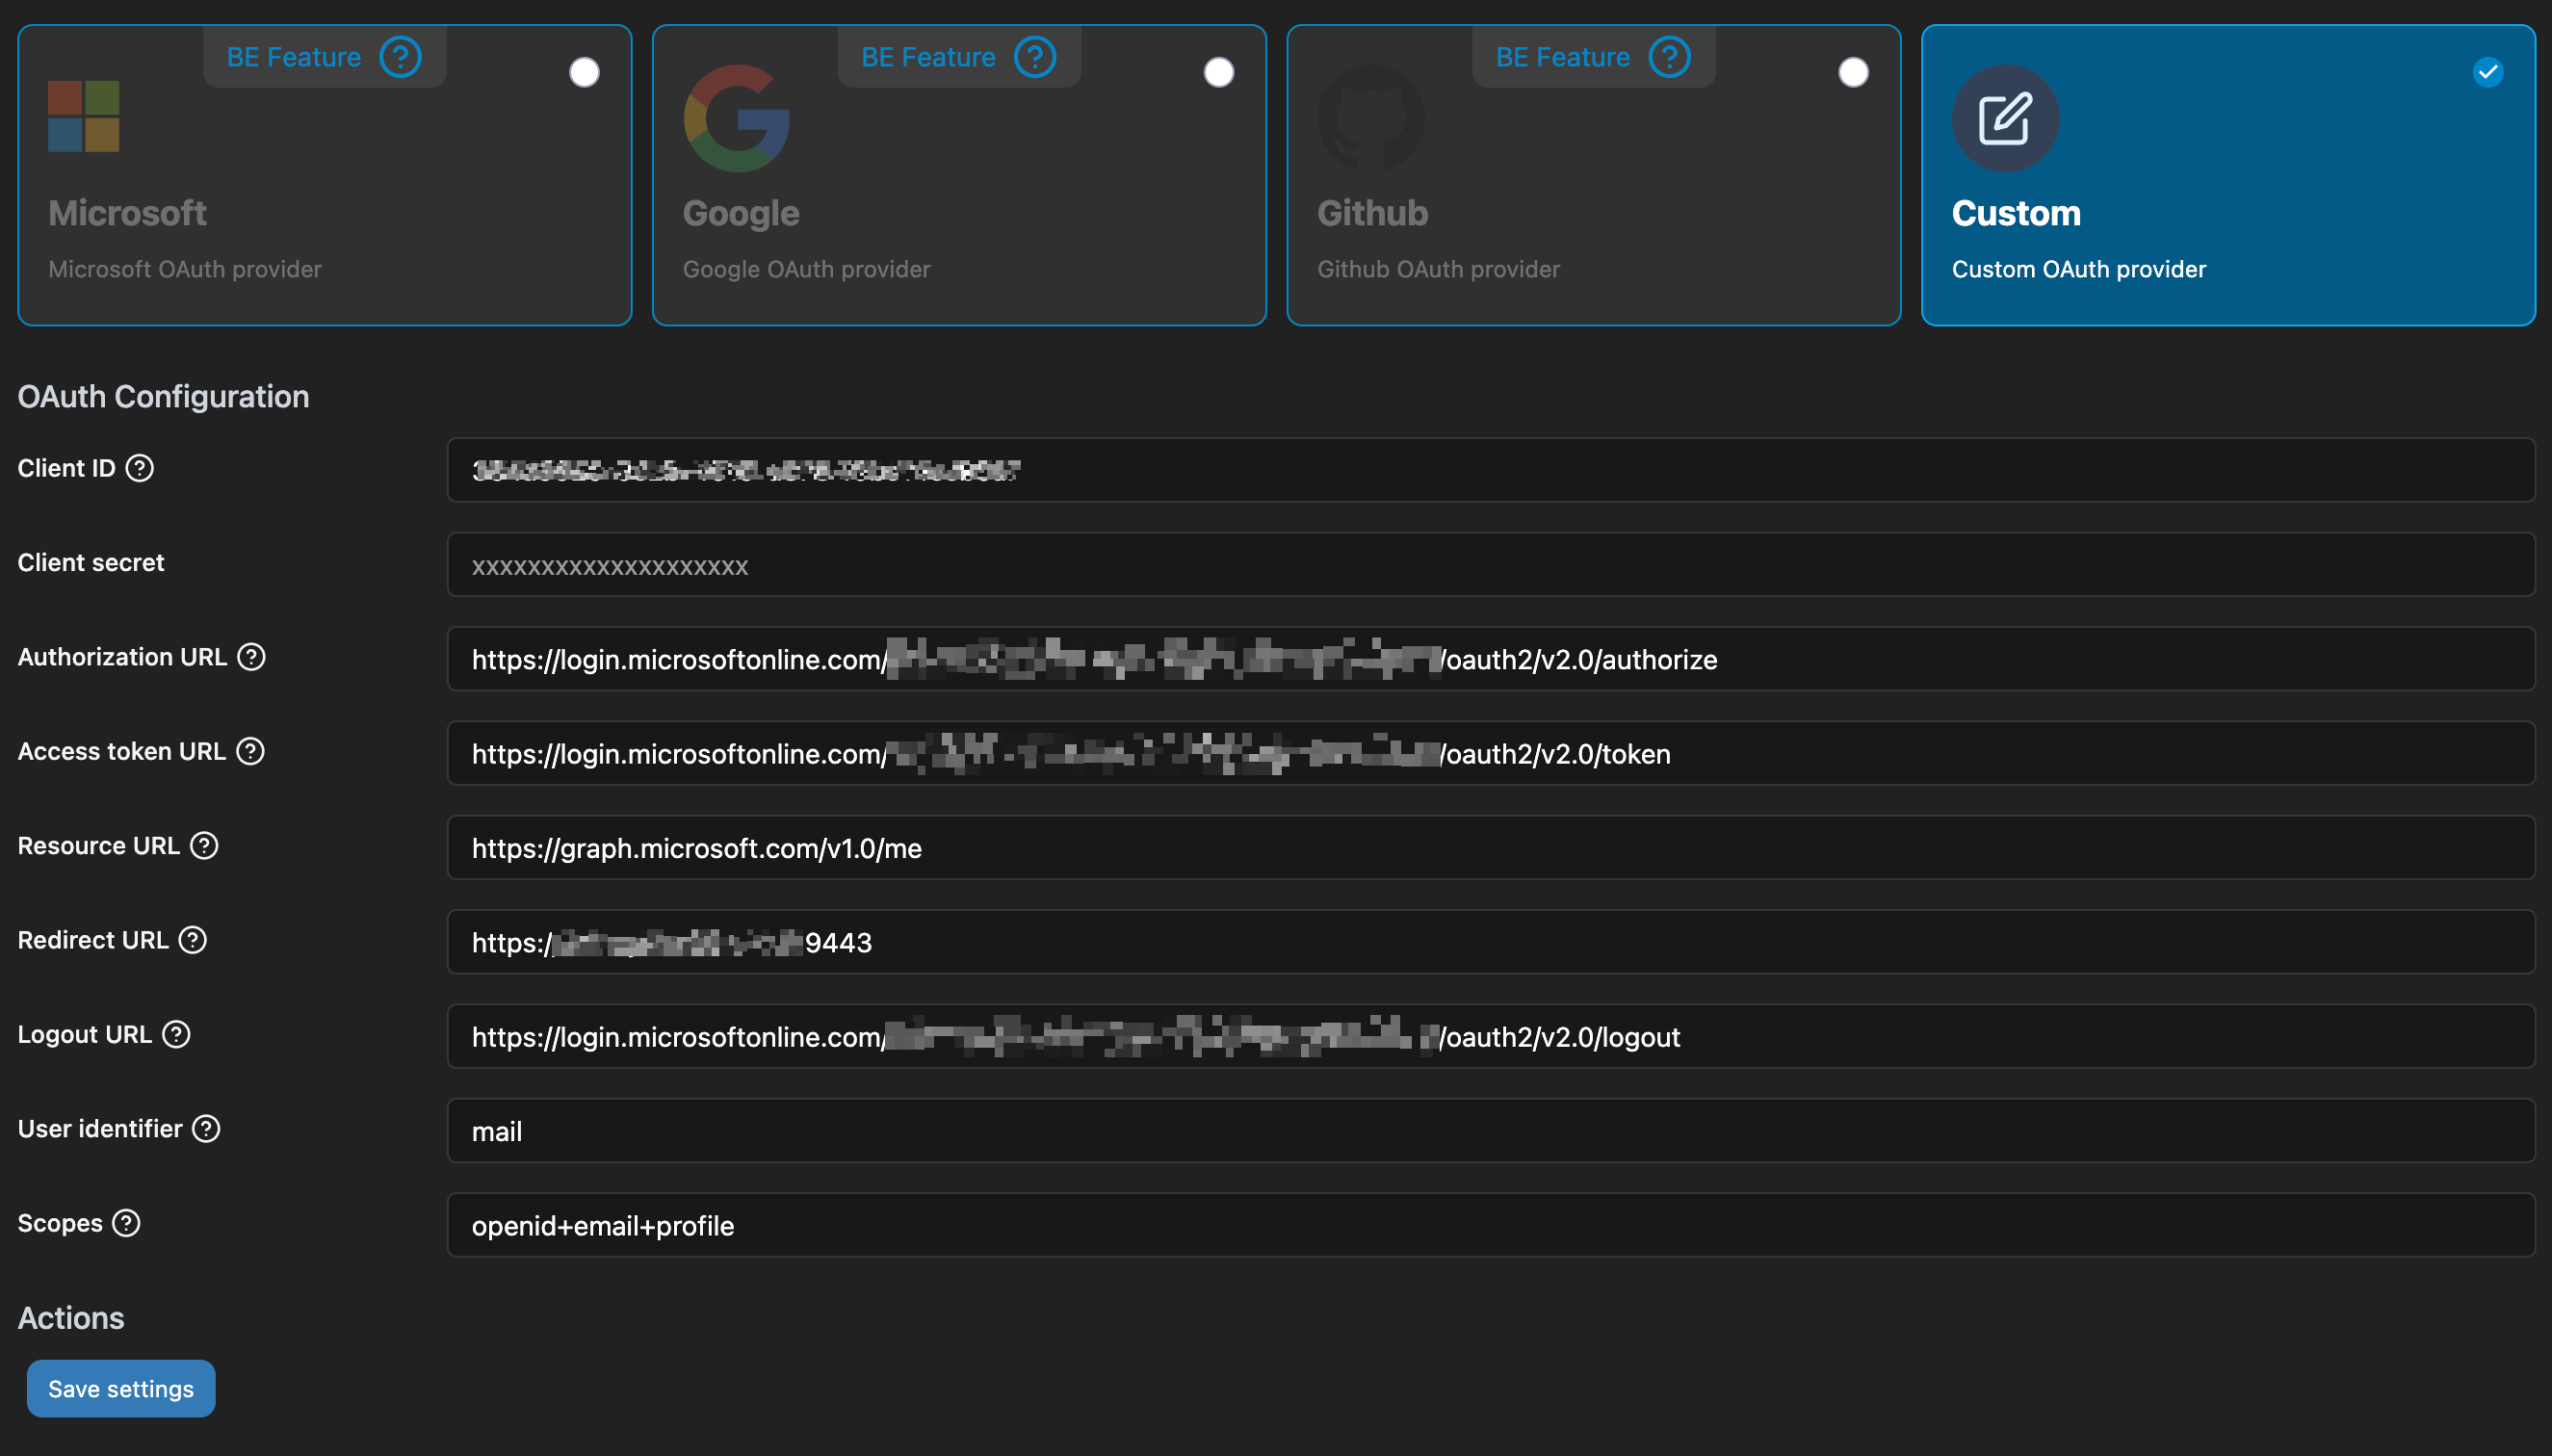
- Fill in the following values under OAuth Configuration:
Client ID: Your Azure Directory (tenant) ID
Authorization URL: https://login.microsoftonline.com/<tenant ID>/oauth2/v2.0/authorize
Access token URL: https://login.microsoftonline.com/<tenant ID>/oauth2/v2.0/token
Resource URL: https://graph.microsoft.com/v1.0/me
Redirect URL: <Portainer URL (which must match the URL provided during App registration)>
Logout URL: https://login.microsoftonline.com/<tenant ID>/oauth2/v2.0/logout
User identifier: mail
Scopes: openid+email+profile
- Then click Save settings.
 Users who sign in via Azure Entra are registered within Portainer using their email addresses. To grant a user access to Portainer, you need to add their email address first under Settings -> Users.
Alternatively, you can choose to provide all users in your tenant access to Portainer by enabling the Automatic user provisioning option under Settings -> Authentication.
Step 3: Logging in with Azure Entra
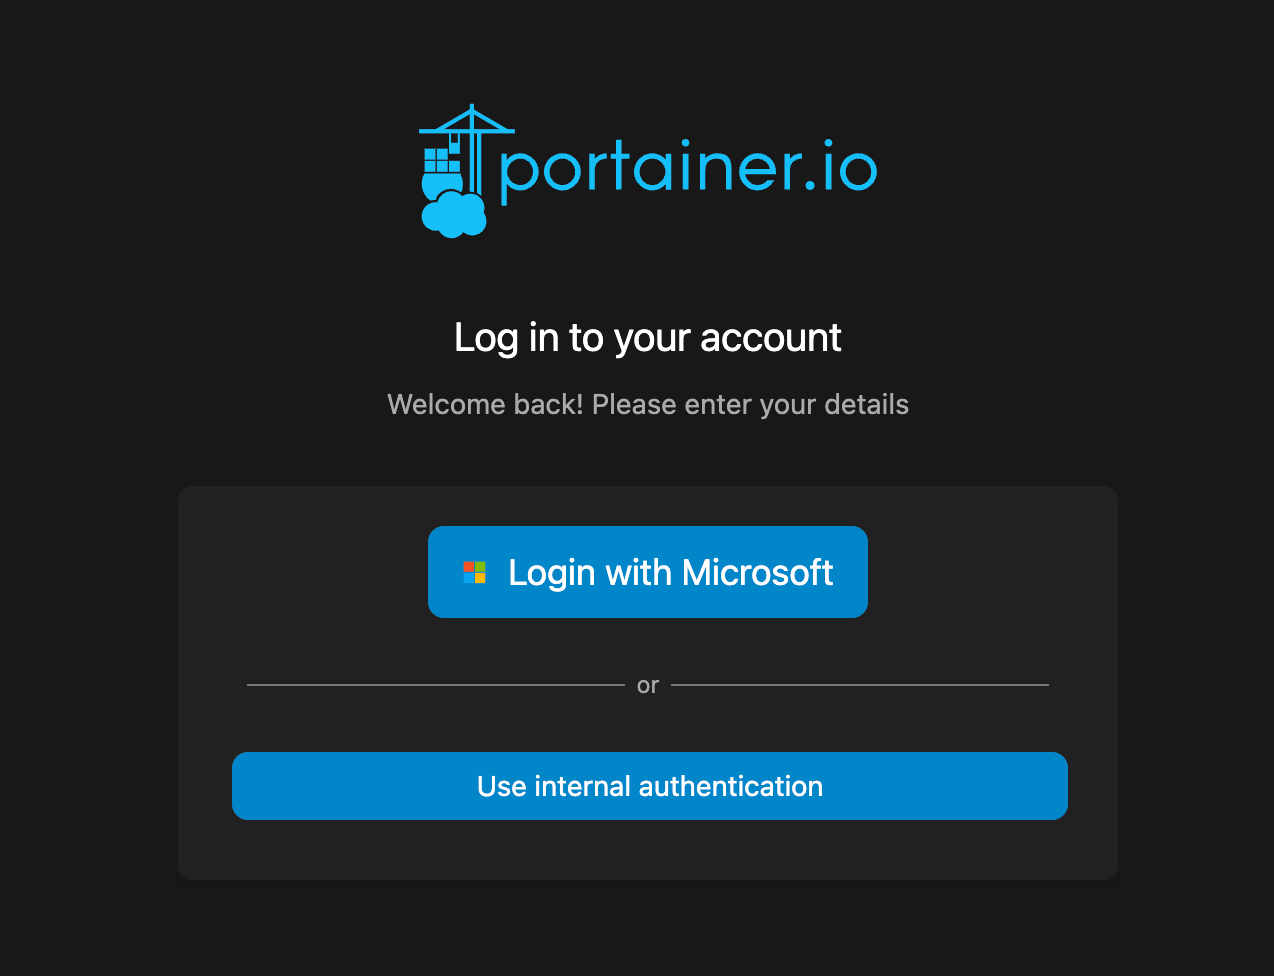
Now that both Azure Entra ID and Portainer are configured, you should see a button on the Portainer login page to log in with your Microsoft account. You'll be redirected to the Microsoft login page, and after a successful authentication, you'll be returned to the Portainer web application.
